First Espresso Machine: A Beginner Buying Guide
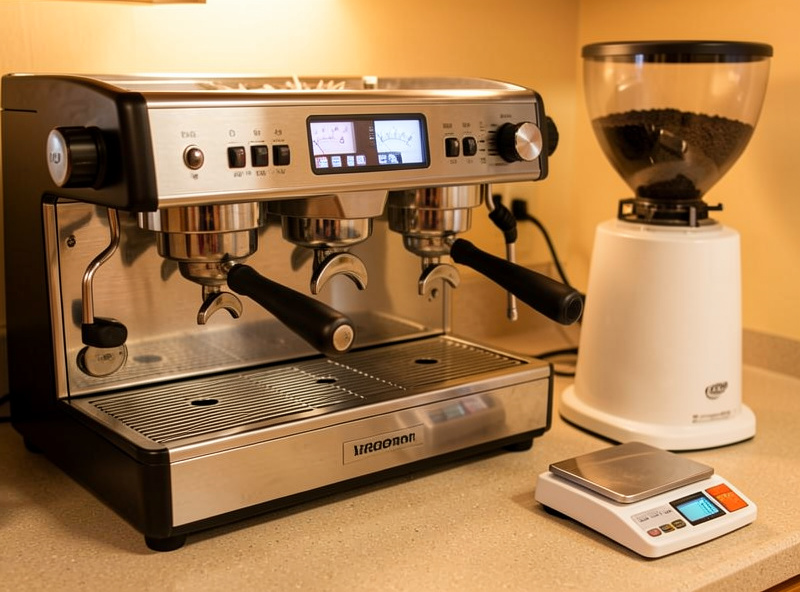
Your first espresso machine matters less than the grinder you pair with it. After running single-boiler, heat-exchanger, and dual-boiler machines side by side on one counter, my honest verdict is that a $500 machine with a real grinder beats a $1,500 machine fed by a blade grinder.
That is the uncomfortable truth this guide is built on. Most “best first espresso machine” lists rank the machines and never mention that the grinder is where 70% of your cup quality lives. I am going to walk you through how to actually choose, in the order the money should land, so your first machine is one you keep for years instead of the gateway purchase you resell in eighteen months.
What Should Your First Espresso Machine Actually Be?
Your first espresso machine should be a single-boiler or thermoblock machine in the $300-500 range, paired with a grinder of at least equal cost. The Gaggia Classic Pro and Breville Bambino class dominate this tier because they make real 9-bar espresso with parts you can service. Spend the rest on the grinder.
The reason is mechanical, not snobbery. Espresso is brewed coffee forced through a compacted puck at roughly nine bars of pressure. To get an even extraction, every coffee particle needs to be close to the same size, and that is the grinder’s entire job. The machine just supplies pressure and temperature. A capable machine with an incapable grinder produces sour, channeled, fast-running shots no amount of machine money fixes. I have proven this on my counter more times than I can count: swap a $40 grinder for a proper burr grinder under the same machine and the shot transforms.
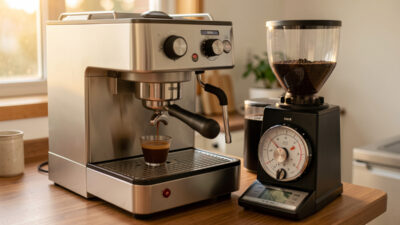
Why the Grinder Comes Before the Machine
The grinder controls grind size, and grind size is the single biggest lever you have over extraction. On my bench, the same machine and the same beans went from undrinkable to genuinely good purely by moving from a blade grinder to a 40mm conical burr grinder. The machine never changed. That is the whole argument in one test.
Here is the budget rule I give everyone who asks: if you have $700 total, do not buy a $500 machine and a $200 grinder. Buy a $350 machine and a $350 grinder. The cup will be better, repeatably, because a good grinder lets you dial the shot in and then hit the same target tomorrow. Repeatability is the entire game, and a blade grinder gives you a different grind every time you press the button. You cannot dial in chaos. I keep a flat-burr single-doser and a conical Eureka-Mignon-class grinder on the counter precisely because the burr geometry, not the machine badge, is what I am actually tasting. If you are starting from zero, read the espresso grinder guide before you spend a krona on the machine.
There is a deeper reason the grinder dominates a first setup, and it took me a stack of shot logs to fully internalize it. Espresso lives in a brutally narrow window. Move the grind a hair too coarse and the shot runs fast, sour, and watery; a hair too fine and it chokes, drips, and turns bitter. The only tool that lets you find and then hold that window is a grinder with fine, repeatable adjustment. A burr grinder snaps to the same setting; a blade grinder rolls the dice. When beginners tell me their machine “makes bad espresso,” I have never once found the machine to be the cause. It is the grind, every time, and the fix is upstream of the boiler. Spend there.
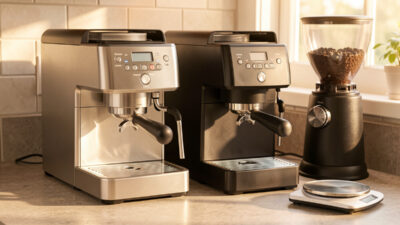
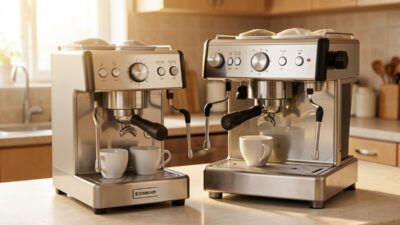
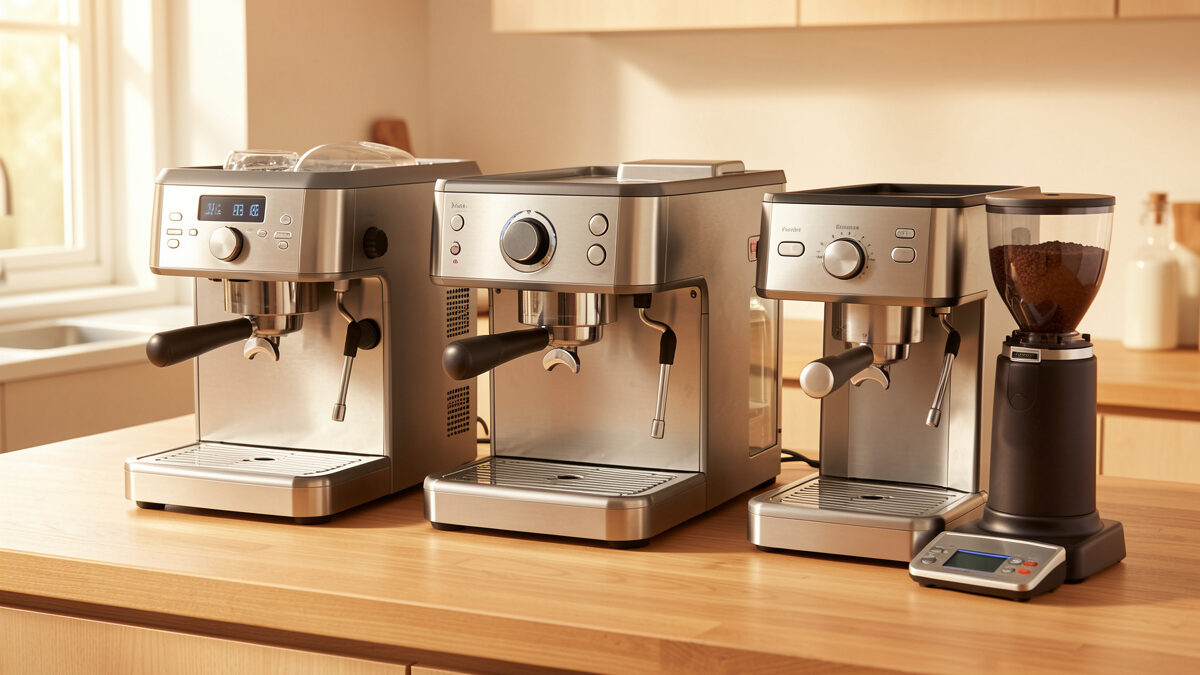
Single Boiler vs Heat Exchanger vs Dual Boiler
The three machine classes differ in one thing that matters for a first machine: how they handle brewing and steaming temperature. A single boiler does one at a time. A heat exchanger does both at once with a flush routine. A dual boiler does both at once with two independent temperatures. Price climbs the same direction.
For a first machine, a single boiler is almost always the right answer, and not because of money alone. It teaches you the process. You learn to read a shot, manage temperature, and prep a puck without the machine hiding your mistakes behind automation. I still keep my OPV-modded Gaggia Classic as the reference for this class because it does so little for you that everything you taste is something you did. If you mostly drink milk drinks and hate waiting, that is the one real argument for stepping up to a heat exchanger or the Breville Dual Boiler early. I break down the trade-off in full in single boiler vs heat exchanger explained.
The practical difference between the classes is wait time and temperature behaviour. On a single boiler you pull your shot, then flip to steam and wait maybe 30-40 seconds for the boiler to climb to steam temperature; for one or two drinks this is a non-issue once it is in your routine. A heat exchanger pulls brew water through a coil sitting in a steam-hot boiler, so it can brew and steam at once, but that same design means the first shot after idling comes out scalding unless you run a cooling flush first. That flush routine is muscle memory on my E61 machine now, but it is a genuine skill you have to build, and it is exactly the kind of thing a first-time buyer does not want sprung on them. The dual boiler sidesteps both problems with two PID-controlled boilers, which is why I call it the best temperature stability per krona at the prosumer tier, but it is rarely the right first purchase because you pay for capability you have not yet grown into.
| Machine Class | Brew + Steam | Typical First-Machine Price | Temperature Stability | Best First-Machine Buyer |
|---|---|---|---|---|
| Single boiler (e.g. Gaggia Classic Pro) | One at a time, short wait | $350-500 | Good with PID mod, variable stock | Mostly straight espresso, wants to learn the craft |
| Thermoblock (e.g. Breville Bambino) | Fast switch, quick heat-up | $300-500 | Good for the price, less mass | Small kitchen, speed, milk drinks for one or two |
| Heat exchanger (E61 group) | Simultaneous, needs cooling flush | $900-1,400 | Very good once flush routine learned | Daily milk drinks, ready to learn temperature surfing |
| Dual boiler (e.g. Breville Dual Boiler) | Simultaneous, independent temps | $1,200-1,700 | Best per krona at this tier (PID both) | Wants no compromises, high milk volume |
How Much Should You Spend on a First Espresso Machine?
Budget the whole setup, not just the machine. A realistic entry point that makes coffee you will actually keep drinking is $700-900 total: roughly half on the machine and half on the grinder, plus $50-80 for a scale, tamper, and basics. Going below $400 total usually means a blade grinder, and that is the false economy that sends people back to pods. If your ceiling is the machine itself, my best espresso machine under $500 breakdown shows where each tier lands.
The trap is spending $1,200 on a shiny machine and $80 on a grinder. That setup looks impressive and pulls inconsistent shots forever. I would far rather hand a beginner a used Gaggia Classic and a $400 grinder than a new prosumer machine and a blade grinder. Money in the grinder compounds; money in machine features you cannot yet use does not.
If your budget is genuinely tight, here is the order I would buy in. First, a real burr grinder, even an entry-level single-doser, because it sets the ceiling on everything. Second, the machine, bought used if you are comfortable inspecting one. Third, a 0.1g scale, which costs little and pays back immediately. Fourth, a decent tamper and a WDT tool for puck prep. Everything past that, including a bottomless portafilter and precision baskets, can wait until you have pulled a few hundred shots and know what you want to improve. Sequencing the spend this way means every krona lands on cup quality first and cosmetics last, which is exactly backwards from how most beginners are sold their first setup.

New vs Used First Espresso Machine
A used single-boiler machine from a reputable home platform is one of the best values in coffee, because these machines are simple, serviceable, and the most common faults are cheap fixes. A used Gaggia Classic with a tired gasket and scaled boiler is a $40 weekend of maintenance away from being as good as new.
What you check matters more than the price. Pull the portafilter and look at the shower screen and group gasket; both are consumables and tell you how the previous owner treated it. Run a shot and watch for leaks around the group. Listen to the pump. Ask about water hardness where they live, because limescale is the silent killer of these machines. I cover the full inspection list in the used espresso machine buying checklist, but the headline is: simple machines hide fewer expensive surprises than electronic super-automatics do. There is also a real case for never buying new at all, which I weigh in renting vs buying an espresso machine.
The category to avoid used is the electronic super-automatic, the bean-to-cup machine with a grinder, a brew unit, and a circuit board all in one box. When one of those fails out of warranty, the repair often costs more than the machine is worth, and you cannot service it on your own kitchen table. A manual single-boiler machine is the opposite: nearly every wear part is a cheap, user-replaceable consumable. I have brought tired Gaggia Classics back to life with a new gasket, a fresh shower screen, a descale, and an afternoon. That serviceability is the real reason the used single-boiler market is the smartest money in home espresso, and it is why I steer first-time buyers there instead of toward a flashier automatic.
Machine Features That Actually Matter (and Which Are Marketing)
The features worth paying for are a PID temperature controller, a real 58mm portafilter, and the ability to adjust the OPV (pressure) valve. Everything else, including pressure gauges, programmable volumetrics, and built-in grinders, is convenience, not cup quality. A pressure gauge on the front looks technical and tells you almost nothing useful.
I weight features by whether they improve the shot or just the experience. A 58mm portafilter matters because the entire accessory ecosystem (baskets, tampers, WDT tools, bottomless portafilters) is built around that size, and you will want those later. PID matters because temperature stability is the second-biggest lever after grind. A built-in grinder in a combo machine almost never matters, because it is rarely good enough to be the grinder you would have bought separately. Buy the machine and grinder apart. I rank what to actually pay for in machine features that actually matter.
First Espresso Machine for a Small Kitchen
In a small kitchen, footprint and heat-up time decide more than boiler type. A thermoblock machine like the Breville Bambino class heats in under a minute, takes a roughly 8-inch-wide footprint, and pairs with a single-dose grinder that hides its own counter mess. That combination wins more small-kitchen setups than any prosumer machine does.
Depth is the dimension people forget. Measure from the wall to the front edge of your counter, then add room to fit a portafilter under the group and swing it out. Many machines need 13-15 inches of depth plus clearance. A single-dose grinder beats a hopper grinder here too, because it stands narrow and you do not store beans on the counter. Plan the grinder and machine as one footprint, not two separate purchases that arrive and do not fit. My full small-space picks live in espresso machine for a small kitchen.
Renting vs Buying Your First Espresso Machine
Renting or subscribing to an espresso machine almost never makes financial sense for a home user who pulls daily shots. A $400 machine pays for itself against a rental in well under a year, and you own a serviceable asset that holds resale value. Rentals make sense only for a short event or a genuine “try before I commit” period of a month or two.
The better version of “try before you buy” is buying used and reselling if it is not for you. Single-boiler machines have a deep used market and lose very little value, so your real cost of trying one for six months is often under $50. That beats any subscription math I have run, and you keep the option to fall in love with it and never sell.
Will a First Machine Steam Milk Well Enough for Lattes?
A single-boiler first machine will steam enough milk for one or two cappuccino-sized drinks, but the steam power is modest and you steam after brewing, not at the same time. For a household pulling four milk drinks back to back every morning, that wait becomes the daily friction that pushes people toward a dual boiler or heat exchanger.
Milk texturing is its own skill, and the machine sets the ceiling on it rather than doing it for you. With years of cappuccino-scale practice my single boiler still produces microfoam I am happy to pour, and my latte art is competent rather than competition-tier, which is an honest place for a home barista to land. What changes with a more powerful machine is speed and the ability to steam a larger pitcher to the same texture, not some magic that makes the milk better on its own. If milk is your main drink, weigh the steam-while-you-brew convenience honestly, but do not believe that a stronger steam wand will texture milk you have not learned to texture. Buy a steel pitcher, a cheap thermometer until you no longer need it, and practice with the machine you can afford.
The Most Common First-Machine Mistakes I See
The two mistakes that wreck more first setups than anything else are overspending on the machine while starving the grinder, and skipping the scale. I made the scale mistake myself early on, eyeballing doses and wondering why my shots were inconsistent day to day. A 0.1g scale was the cheapest upgrade I ever bought and the one that finally made my shots repeatable.
The other recurring error is choosing a machine for its looks or its feature list instead of its boiler class and portafilter size. A 58mm portafilter is the gateway to the entire accessory ecosystem, and a machine with a proprietary 51mm or 54mm basket quietly locks you out of the better baskets, tampers, and bottomless portafilters you will want within months. I have watched friends buy a beautiful pressurized-basket machine, fall for espresso, and then have to replace the whole thing because the original could not grow with them. Pick the boiler class for how you drink, insist on a real 58mm group if you can, and put the leftover money in the grinder. That sequence is how a first machine becomes a keeper.
How Quickly Does a First Espresso Machine Pay for Itself?
The math is simple arithmetic, not a promise: take your daily café spend, multiply by the number of drinks you would replace, and divide your total setup cost by that figure. A $800 setup against two daily drinks that would each cost a few dollars out generally crosses break-even inside a year, after which the running cost is just beans, water, and a little electricity.
I am deliberately not putting a savings figure on this, because the honest version depends entirely on what you drink and where you live. What I will say from running the numbers on my own habit is that the machine itself is a one-time cost, the grinder is a one-time cost, and after that the marginal cost of a home shot is small. The variable that actually moves the long-run total is not the machine price but whether you keep using it, which loops straight back to the opening argument: buy a setup good enough that you want to pull a shot every morning, and the economics take care of themselves. A cheap setup that frustrates you into giving up is the only one that never pays off.
The First Machine Workflow Worth Building
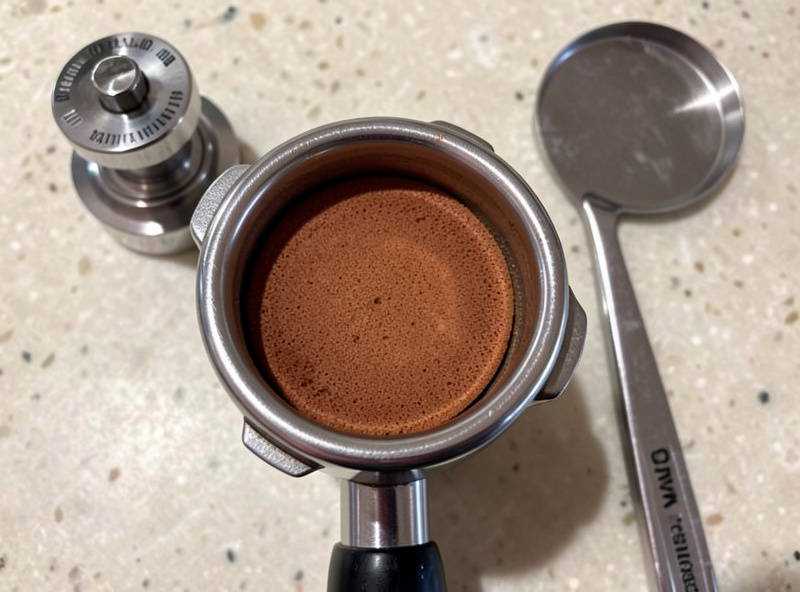
Whatever machine you choose, the setup that makes it sing is the same: a 0.1g scale under the cup, a grinder you can adjust finely, a WDT tool for the puck, and a shot log. Weigh your dose in, weigh your yield out, time the shot. That dose-yield-time triangle is the only thing that turns a machine into good espresso, and it works identically on a $350 single boiler and a $1,700 dual boiler. If you have never dialed a shot, start with how to dial in espresso the day your machine arrives.
This is the same loop I run on every bench in my workshop: change one variable, read the result, log it, repeat. Espresso is just the calibration you drink. Pick the machine your kitchen and drinks call for, spend equally on the grinder, and put a scale under everything. Do that and your first machine will be the one you are still pulling shots on years from now.
Frequently Asked Questions
What is the best first espresso machine for a beginner?
A single-boiler or thermoblock machine in the $300-500 range, such as the Gaggia Classic Pro or Breville Bambino class, paired with a burr grinder of equal cost. The machine teaches the process; the grinder controls the cup.
Is a Gaggia Classic Pro a good first machine?
Yes. It is the reference single boiler for first machines because it pulls real 9-bar espresso, uses a 58mm portafilter, and is simple to service and modify. Its main limit is one-at-a-time brew and steam.
Should I buy the machine or the grinder first?
Buy them together and split the budget roughly evenly. Grind size is the biggest lever over extraction, so a $350 machine with a $350 grinder beats a $500 machine with a blade grinder every time.
How much should I spend on my first espresso setup?
Plan for $700-900 total: about half on the machine, half on the grinder, plus $50-80 for a scale, tamper, and basics. Going under $400 usually forces a blade grinder, which undermines repeatability.
Is a used espresso machine worth buying?
A used single-boiler machine is excellent value because the common faults (gaskets, shower screens, light scaling) are cheap fixes. Check the group gasket, run a shot for leaks, and ask about local water hardness before buying.
Do I need a dual boiler for milk drinks?
Not for one or two drinks. A single boiler steams fine with a short wait. A dual boiler or heat exchanger only earns its cost if you make milk drinks back to back daily and refuse to wait between brew and steam.
Related Guides
- Is the Gaggia Classic Pro Worth It?
- Used Espresso Machine Buying Checklist
- Best Espresso Machine Under $500
- Single Boiler vs Heat Exchanger Explained
- Espresso Machine for a Small Kitchen
- Machine Features That Actually Matter
- Renting vs Buying an Espresso Machine
- The Espresso Grinder Guide
- How to Dial In Espresso
Related Reading — Complete Spoke List
Full spoke list of the First Espresso Machine cluster:
- “Renting vs Buying an Espresso Machine: The Honest Math”
- “Espresso Machine Features That Actually Matter”
- “Espresso Machine for a Small Kitchen: How to Choose”
- “Single Boiler vs Heat Exchanger Explained”
- “Best Espresso Machine Under $500: Honest Picks”
- “Used Espresso Machine Buying Checklist”
- “Is the Gaggia Classic Pro Worth It? An Honest Verdict”
More From This Site
Other guides across first espresso machine and the rest of the Espressospecs library:
- “Renting vs Buying an Espresso Machine: The Honest Math”
- “Espresso Machine Features That Actually Matter”
- “Espresso Machine for a Small Kitchen: How to Choose”
- “Single Boiler vs Heat Exchanger Explained”
- “Best Espresso Machine Under $500: Honest Picks”
- “Used Espresso Machine Buying Checklist”
- “Is the Gaggia Classic Pro Worth It? An Honest Verdict”
- “Stepless vs Stepped Grinder Adjustment for Espresso”
- “Using a Hand Grinder for Espresso Daily: The Reality”
- “Coffee Grinder Retention Explained (and How to Beat It)”
- “Flat vs Conical Burrs: What You Actually Taste”
- “Is a Single-Dose Grinder Worth It? An Honest Take”
- “Best Espresso Grinder Under $300: What Actually Matters”
- “The Espresso Grinder Guide: Why It Outranks Your Machine”
- “When to Replace Your Coffee Grinder Burrs”
- “Reading a Bottomless Portafilter Pour: What Your Shot Is Telling You”
- “Espresso Yield by Drink Type: Match the Shot to the Cup”
- “How Long Should an Espresso Shot Take? (Time Is a Read-Out)”
- “The Right Dose for an 18g Basket: It Is All About Headspace”
- “Espresso Shot Too Bitter? The Fix
- “Espresso Ratio Explained: Why 1:2 Is Your Default (and When to Break It)”
- “Espresso Shot Too Sour? The Fix
- “How to Dial In Espresso: Dose